
If you just connected a battery, solar panel, inverter, or shore power adapter and something immediately smelled hot, sparked, or stopped working — you may have reversed polarity somewhere in your 12V system. This isn’t always obvious right away. Reverse polarity can damage components instantly, or it can leave hidden damage that shows up days later as a “random” electrical fault.
This guide covers what actually happens when polarity is reversed in a camper electrical system, the most common ways it happens, how to check for it safely, and what to do once you’ve found it.
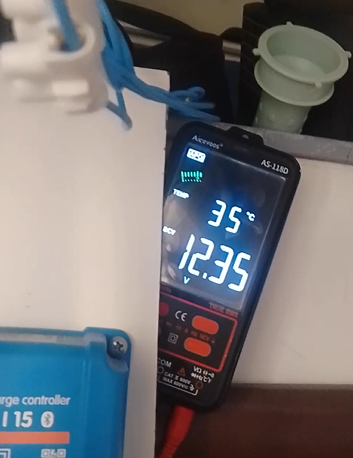
From experience: I had this happen while wiring up the control unit for the hot water heater. Where the diagram showed positive, I connected negative, and where it showed negative, I connected positive — a simple mix-up on my part, the kind that happens fast when you’re working on your own system and not paying enough attention. The result: nothing. Not even the LED display on the control panel would light up. No smoke, no smell, no obvious damage — just a completely dead unit that gave zero indication of what was wrong until I checked the polarity with a multimeter and found it reversed. That’s the part people don’t expect: reverse polarity doesn’t always announce itself with sparks or a burning smell. Sometimes the only symptom is “it does absolutely nothing,” which looks exactly like a dead fuse, a bad connection, or a faulty unit — and that’s exactly why it gets misdiagnosed.
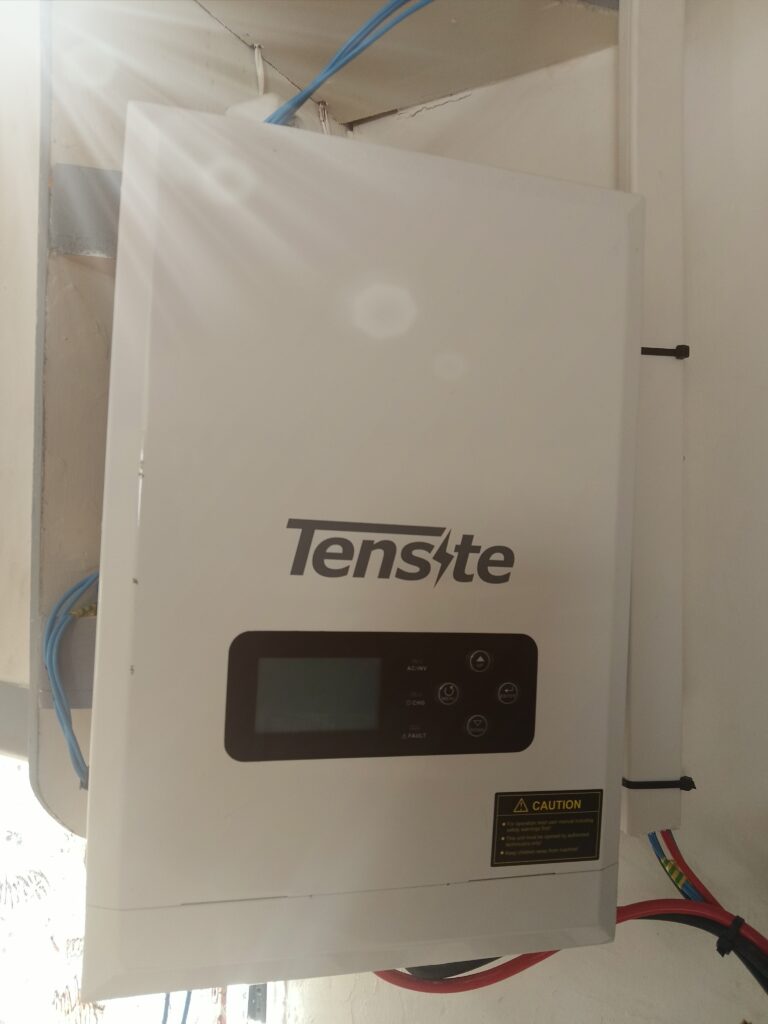
Worth being clear about: not every circuit reacts the same way to reversed polarity, and “nothing bad happened” in one case doesn’t mean it’s safe in general. Some units have a diode (or similar protection) in the input line that simply blocks current from flowing in the wrong direction — which is likely why my control unit just stayed dead instead of anything worse. Other circuits don’t have that protection at all, and for those, reversed polarity isn’t a “nothing happens” situation — it can damage or destroy the component immediately. There’s no way to know which category a given device falls into just by looking at it, which is exactly why the safe move is always to check polarity with a multimeter before powering something up, not to assume your case (or mine) is how it always goes.
What “reverse polarity” actually means in a 12V system
Every component in your camper’s electrical system — battery, solar charge controller, inverter, fuse box, appliances — expects current to flow in one direction: positive (+) to positive, negative (-) to negative (or negative to chassis ground, depending on your setup). Reverse polarity means positive and negative got swapped somewhere in that chain.
It’s not the same as a short circuit, though it can cause one. A short is two conductors touching that shouldn’t. Reverse polarity is current flowing the right path but in the wrong direction — which most 12V components are simply not built to tolerate, even briefly.
The most common ways it happens
- Jump-starting or connecting a second battery backwards — clamps swapped on a jump pack, booster cable, or when wiring a second battery into the bank.
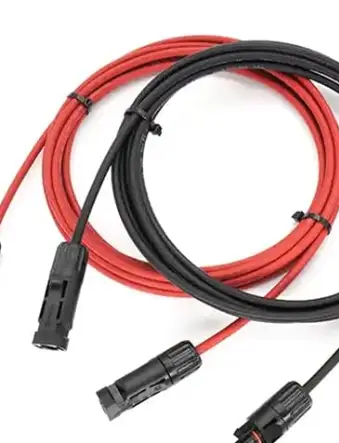
- Solar panel MC4 connectors crossed — usually from a DIY extension cable or a panel-to-controller run where the polarity wasn’t checked before final connection.
- Battery terminals reversed after maintenance — reconnecting cables after cleaning terminals or replacing a battery, without labeling which cable went where.
- Shore power / hookup adapter wired wrong — less common with pre-made adapters, but happens with DIY campground adapters or after repairing a damaged plug.
- DC-DC charger or B2B charger input/output swapped — connecting the alternator-side and battery-side leads backwards during install.
What reverse polarity can damage
The severity depends on what’s on the circuit and for how long the reversed connection was live.
- Fuses do not protect against reverse polarity. A fuse only breaks the circuit on overcurrent — it does nothing to stop current flowing the wrong direction. This is the single most common misunderstanding: “I have a fuse, so I’m protected” doesn’t apply here.
- Solar charge controllers — most MPPT/PWM controllers have built-in reverse polarity protection on the battery and panel inputs (check your controller’s datasheet), but not all models do, and protection can degrade after a previous reversed-polarity event even if nothing looked damaged.
- Inverters — many are NOT reverse-polarity protected on the DC input. A backwards connection can destroy the inverter internally in under a second, sometimes with visible arcing at the terminals.
- Diodes, electronic appliances, and anything with a circuit board (fridge controllers, USB chargers, some LED drivers) — reverse polarity can fry the board instantly, even at low current.
- Battery itself — briefly reversed connections during jump-starting can damage the battery’s internal BMS (on lithium/LiFePO4 batteries especially) or cause a plate short on lead-acid/AGM.
- Wiring and connectors — sustained reverse current through undersized wire can overheat insulation, which is a fire risk independent of what it did to the connected device.
How to check for reverse polarity safely
- Disconnect the suspect circuit before touching anything else. If you smelled burning or saw sparks, don’t try to “test through it” — isolate first.
- Use a multimeter, not a test light. Set to DC voltage, touch red probe to the positive lead and black to negative. A positive voltage reading confirms correct polarity; a negative reading (or the meter showing “-12.x V”) confirms reversed polarity on that connection.
- Check at both ends of the run, not just one. A cable can be correctly polarized at the battery and still be reversed at the appliance if the connector was wired wrong.
- Label as you go. Once you find the correct polarity, mark positive and negative on both ends before reconnecting anything — this is the fix that prevents it from happening again during the next maintenance session.
What to do once you’ve confirmed it
- If a fuse blew: replace with the same amperage rating — that’s expected and correct behavior, but it only tells you current flowed, not which direction. Confirm polarity with a meter before reconnecting.
- If a device stopped working immediately after the reversed connection: treat it as likely damaged internally, even if it looks fine externally. Reversed-polarity damage to a circuit board is often not visible.
- If nothing seems damaged: still recheck every connection point on that circuit before putting it back into regular use — a “no damage” outcome from a brief reversal doesn’t mean the same mistake survives a second time.
- Going forward: color-code and label every DC connection in the system (not just the obvious ones), and if you’re adding a component that isn’t reverse-polarity protected (check the datasheet), consider adding an inline reverse-polarity protection diode or a polarity-protected fuse holder at that connection point.