
Most campers sit parked for a large part of the year and only get used again when the holidays roll around. The problem is that during those idle months, the battery can lose charge, damp can creep in, the water pump can dry out, and connections and screws can work themselves loose from the vibration of the last trips.
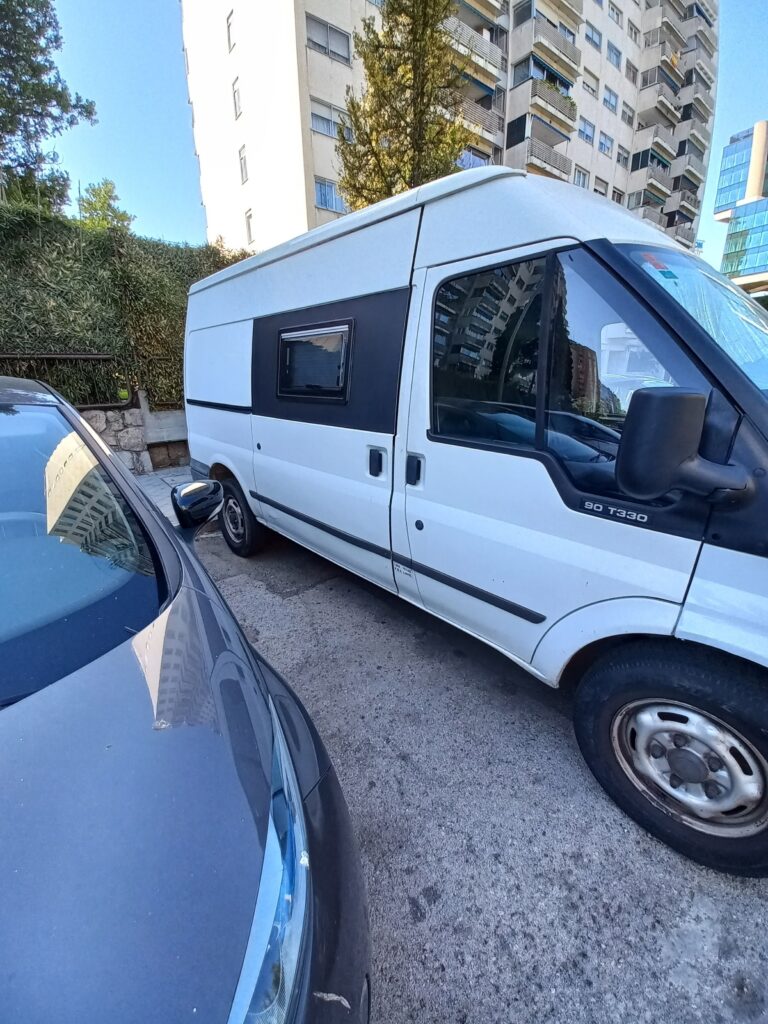
I’m a trained electrician with professional experience. I converted my Ford Transit back in 2018, years before a work accident changed my life in 2023. That van ended up becoming my home. On this site I combine real electrical know-how with faults, installations, and measurements taken from my own vehicles.
“I killed a perfectly good AGM running a 230 V fan overnight through an inverter. That’s the kind of mistake this site is built to save you from.”
These are the 12 checks I consider most important before heading out again
1. Check for damp before you plug in anything
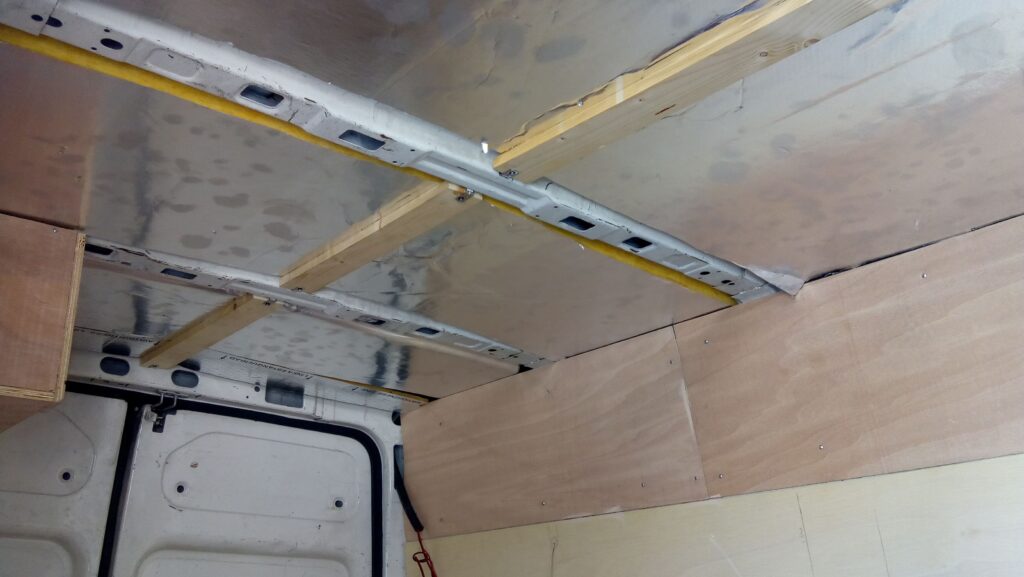
Do this first check in good light, before switching on any electrical equipment. Look for:
- Dark stains on the wood
- A musty smell
- Rusted screws
- Bulging panels
- Water near cables or connections
- Wet insulation around doors and windows
Water once got into my van through the rear doors. They were lined with thin plywood over thermal/acoustic insulation. I ended up fitting tongue-and-groove panelling on top, glued and screwed with fine fixings. But before covering an affected area, the right move is to find where the water is actually getting in, check the insulation underneath, and let everything dry fully. Covering up damp without fixing its source just hides the problem while it keeps damaging the wood.
2. Measure the battery after letting it rest
A battery can look fully charged while it’s still getting solar input, then drop noticeably once that input disappears. Measure it after a few hours with no charging and no significant load connected. On an AGM battery, roughly 12.6–12.8V at rest usually means a healthy charge; anywhere near or below 12.2V needs attention before you leave.
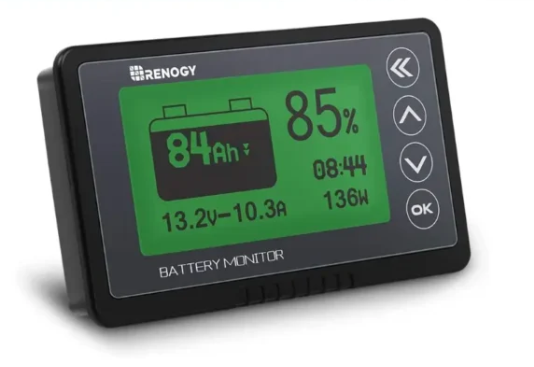
Voltage alone is only a rough guide — a degraded battery can show a seemingly fine number and still collapse the moment you connect a real load.
→ How to tell if your camper battery is bad
3. Check for hidden loads
I’ve found the battery half-drained after a period of light use, even though nothing was apparently switched on. Things that can stay active in a camper:
- The control panel
- USB ports
- The solar controller
- An alarm
- A relay
- The inverter, even with nothing plugged into it
Beyond hunting for hidden loads, it’s worth working out how much energy your fridge, lights, pump, and inverter will actually use on the trip → Work out your camper’s power consumption
Before parking the van again, check what’s still connected and use the master disconnect switch if your setup has one.
If the battery keeps losing charge for no clear reason → Why is my camper battery draining overnight?
4. Check the solar panels and controller
A charging icon on the screen isn’t proof of anything. Confirm the panels are actually producing power and that it’s reaching the battery. I’d check:
- Panel condition and cleanliness
- Visible cables and roof cable glands
- Fuses on the solar circuit
- Controller connectors and terminals
- Battery profile setting
- Voltage, and current too if you have a monitor
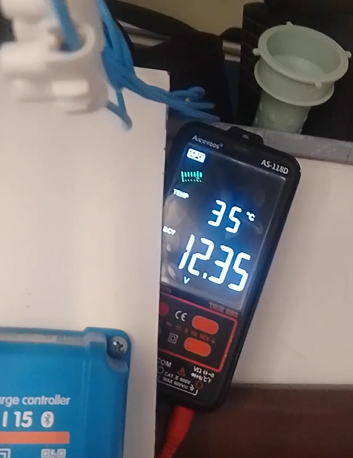
If the controller shows no current, voltage isn’t climbing, or the battery keeps draining during the day → Solar panel not charging? Find the fault in five measurements
The controller might show 13.8V or over 14V while charging — that’s the charging voltage being applied, not proof the battery is full.
5. Check terminals, connectors, and fuse holders
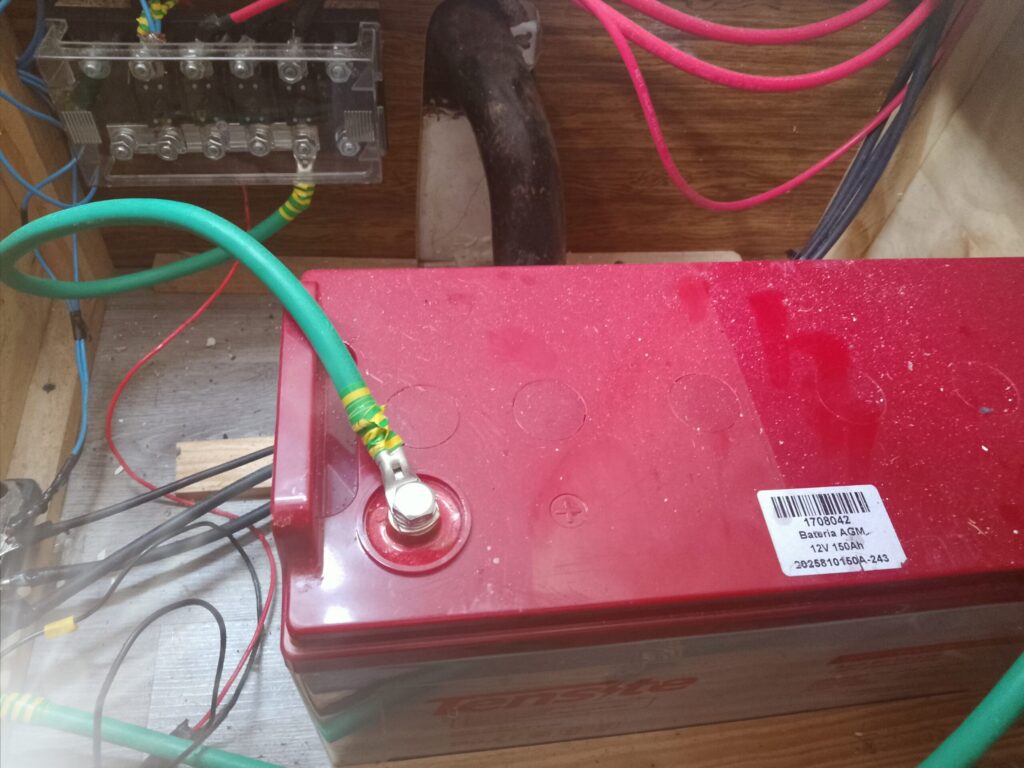
Vibration loosens screws and terminals over time. In my own fuse box I’ve had to retighten connectors joining the positive lines of different circuits.
A loose connection can build resistance and heat, but the same thing happens when the wire itself is undersized for the current running through it → What wire gauge to use in a 12V camper system
I’ve also had a controller terminal that heated up and degraded. A loose connection raises resistance and generates heat even while the device still seems to work.
With all charging sources disconnected, check for:
- Loose screws or terminals
- Discolored or deformed plastic
- A burning smell
- Corrosion
- Cables that move inside the terminal
- Fuse holders that feel too hot to touch
Torque screws properly — not by force. If the manufacturer specifies a torque value, stick to it.
(Punto pendiente: foto del terminal negativo/masa — reutilizar la del original en español con caption nuevo en inglés, o subir una distinta.)
6. Test the inverter before you actually need it
I had a small 300W inverter that got progressively noisier until it stopped converting 12V to 230V altogether. Some fan noise during operation is normal, but a fan that’s getting louder over time, a strange smell, unexpected shutdowns, or excessive heat shouldn’t be ignored.
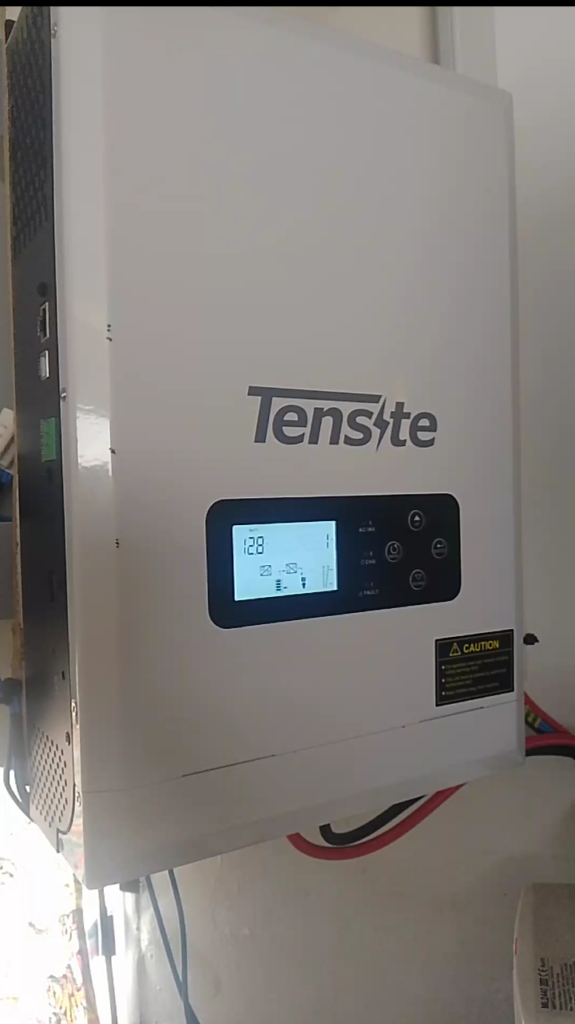
Test it with a known, low-power device. If it behaves strangely, unplug it and check it before the trip — remember an inverter draws power even with nothing plugged in, so don’t leave it switched on if you’re not using mains power.
If you need to replace it, don’t pick one on max wattage alone — size it to what you’ll actually run and to what your battery and wiring can handle → Why does my inverter keep shutting off?
7. Check every charging source you have
Before you leave, test all your available charging methods:
- Solar panels
- Alternator via relay or DC-DC booster
- External 230V/120V shore power hookup
- A portable power station, if you carry one
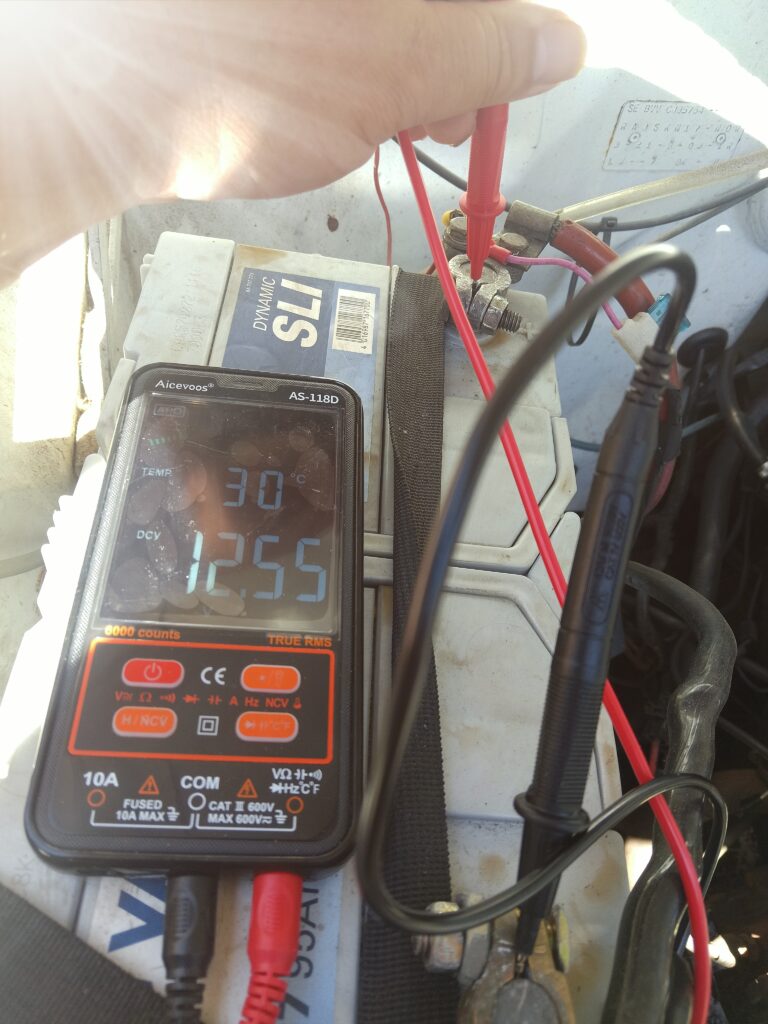
There’s no single system that fits every camper — panels work while you’re parked, the booster works while you’re driving, and shore power covers the days without enough sun.
With the engine off, measure the leisure battery, then measure again after starting the engine — if you have an alternator charging system, you should see a coherent change in voltage or current → Leisure battery not charging from the alternator
Test the shore power hookup before you get to a campsite too — better to find a charger, breaker, or RCD problem near home than on arrival. Any work on the mains (230V/120V) side should go to a professional if you’re not confident with mains wiring.
8. Bleed the air out of the water pump
After sitting unused for months, my own water pump ran with a fair amount of air in the line.
Before the trip, fill the clean water tank, open the taps, and let the system push the air out gradually — don’t run a pump dry for too long. If it won’t prime, check:
- Water level
- Inlet filter
- Kinked hoses
- Fittings where air could be getting in
- Valves and connections
- Possible leaks
→ Water pump not working after filling the tank
9. Check taps, hoses, and connections
My own sink developed small leaks around the tap. A slow leak can go unnoticed and end up soaking cabinets, flooring, insulation, or electrical connections nearby. To find one, pressurize the system and run absorbent paper along joints, the base of the tap, and the hoses.
Also leave the pump idle for a few minutes — if it kicks back on without any tap open, you’ve likely got a pressure loss or a leak somewhere in the line.
10. Empty and clean the grey water tank
I once left the van parked for months with the grey water tank nearly full by mistake. Besides the smell, soap residue, food scraps, and grime can stick to the walls, affect the valves, and make cleaning harder later. Before traveling:
- Empty it at an authorized dump point
- Clean the tank
- Check the drain valve
- Check for leaks
- Confirm the level sensor is reading correctly
When storing the van, leave the tank empty, clean, and able to dry out.
11. Retighten doors, hinges, and cabinets
Vibration doesn’t just affect electrical terminals — it loosens hinge screws, latches, and cabinet fixings too. I’ve had to retighten the screws on a central cabinet’s doors. A door that seems fine while parked can fly open over a pothole and dump everything inside.
Before leaving, check hinges, handles, safety latches, cabinet screws, drawers, shelves, and anything heavy that could shift in transit.
12. Run a full test close to home
The last check is to use the camper as if you were already on the trip. Over a few hours, test the lights, pump and taps, fridge, inverter, outlets, solar charging, alternator charging, heating if fitted, tank sensors, and doors/latches.
This catches a battery that drops fast, a pump losing pressure, or an inverter that shuts off — while you’re still close to home instead of far away.
Quick checklist before you travel
☐ Check for damp and water ingress ☐ Measure the battery at rest ☐ Check for hidden loads ☐ Inspect panels and controller ☐ Check terminals, connectors, and fuses ☐ Test the inverter ☐ Verify every charging source ☐ Bleed the water pump ☐ Check taps and hoses for leaks ☐ Empty and clean the grey water tank ☐ Retighten cabinets, hinges, and latches ☐ Run a full system test near home
Conclusion
After sitting for months, a camper shouldn’t head straight out on a trip without checking its main systems first. Most of these checks don’t require pulling the whole system apart — a visual inspection, a few measurements, and a full test run can catch loose connections, damp, leaks, or a flat battery before they turn into a real fault on holiday.
In my case, most of these points come from problems that actually happened to me. That’s exactly why I now spend a few hours checking the van before any long trip.
Note: this checklist focuses mainly on the camper’s systems and living area. Before driving, also check tires, brakes, fluid levels, exterior lights, and — where fitted — the gas installation and smoke/CO detectors.
FAQ
u003cstrongu003eWhat should I check on a camper before a trip?u003c/strongu003e
The auxiliary battery, solar panels, terminals, fuses, inverter, water pump, taps, grey water tank, and the condition of doors, cabinets, and latches. Run a full system test near home before setting off on a long route.
u003cstrongu003eWhat happens to the battery if the camper has been parked for months?u003c/strongu003e
Even unused, it can lose charge from hidden loads, the inverter, the control panel, or the solar controller itself. Measure it at rest, charge it fully, and confirm it holds voltage before traveling.
u003cstrongu003eHow far ahead should I check the camper?u003c/strongu003e
Ideally a day or two before the trip, so you have time to charge the battery, bleed the pump, fix small leaks, or replace a fuse without rushing at the last minute.
u003cstrongu003eWhy test the water pump after months of no use?u003c/strongu003e
Air can get into the line, a seal can dry out, or a small leak can appear. If the pump runs but water doesn’t come through properly, you usually need to bleed the line and check taps, hoses, and connections.
u003cstrongu003eIs it enough to check that everything switches on?u003c/strongu003e
Not always. Some faults only show up after several minutes of running, or when several loads are on at once. Test the inverter, fridge, pump, lights, and charging systems for a while before leaving.
u003cstrongu003eShould I disconnect the battery if the camper will sit for months?u003c/strongu003e
It depends on your setup and what needs to stay active. Generally: disconnect unnecessary loads, switch off the inverter, and check the charge level periodically. If you have solar, an alarm, or other permanent systems, follow the manufacturer’s guidance before disconnecting.
u003cstrongu003eWhat tools should I bring to check a camper before a trip?u003c/strongu003e
A multimeter, screwdrivers, a torch, spare fuses, electrical tape, cable ties, and absorbent paper for tracking down small leaks. Leave mains (230V/120V), gas, or high-current work to a professional if you’re not confident doing it yourself.
What tools should I bring to check a camper before a trip? A multimeter, screwdrivers, a torch, spare fuses, electrical tape, cable ties, and absorbent paper for tracking down small leaks. Leave mains (230V/120V), gas, or high-current work to a professional if you’re not confident doing it yourself.