
A camper van can spend most of the year parked and only get used again once vacation time comes around. The problem is that, during those months, the battery can lose charge, damp can appear, the water pump can dry out, and connections and screws can work loose from the vibration of past trips.
About me: I’m a trained electrician and a real camper van user. I converted my Ford Transit back in 2018, years before a workplace accident changed my life in 2023. That van ended up becoming my home. On this site I combine electrical know-how with the installs, faults, and real-world consumption I’ve dealt with on my own vehicles.
«I once left the van parked for months with the grey water tank almost full and the battery slowly dying in the background. Nothing dramatic — just neglect. This checklist exists so you don’t find that out the hard way, three hours from home.»
— Gustavo, why I check everything before I drive
Start here: Check your battery · Find a parasitic draw · Fix the water pump
These are the 12 checks I consider most important before heading out again.
1. Check for damp before connecting anything
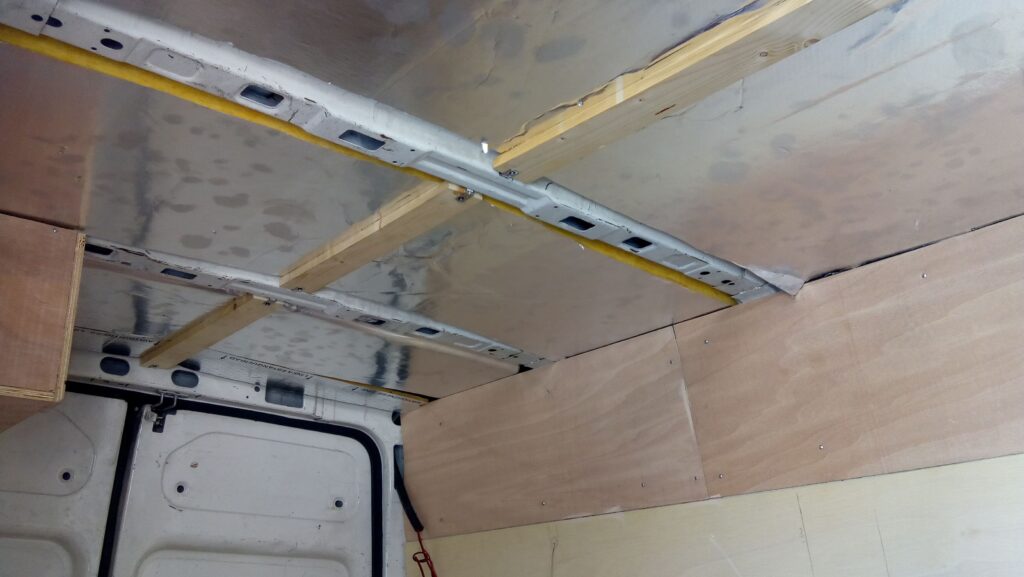
This first check should be done in good light, before switching on any electrical equipment.
Look for:
- Dark stains on the wood.
- A musty smell.
- Rusted screws.
- Swollen panels.
- Water near cables or connections.
- Wet insulation around doors and windows.
In my own van, water ended up getting in through the rear doors. They were lined with very thin plywood with thermal and acoustic insulation underneath.
At the time I fitted tongue-and-groove panelling over it, well glued and fixed with thin screws. But before covering an affected area, the right move is to find where the water is actually getting in, check the condition of the insulation, and let every material dry out completely. Covering up damp without removing its source can hide the problem while it keeps damaging the wood underneath.
2. Measure the battery after letting it rest
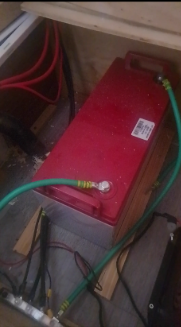
A battery can look fully charged while it’s still receiving power from the solar panels, and drop considerably once that charge source disappears — see how to tell if your camper battery is damaged or worn out for a full walkthrough.
That’s why it’s worth measuring it after leaving it a few hours with no charge coming in and no major loads connected. On an AGM battery, a resting reading of around 12.6–12.8V usually indicates a high state of charge. If it comes in near or below 12.2V, it needs attention before you set off.
Voltage alone is only a rough guide. A degraded battery can show an apparently correct number and still collapse fast the moment you connect a load.
3. Check for hidden loads
I’ve personally found the battery half-drained after a long period of little use, even though nothing was apparently switched on.
Things that can stay active in a camper van:
- The control unit.
- USB ports.
- The solar charge controller.
- An alarm.
- A relay.
- The inverter, even with nothing plugged into it.
Beyond hunting down hidden loads, it’s worth working out how much energy the fridge, lights, pump, and inverter will actually use during the trip. If the battery is losing charge with no clear explanation, here’s how to find a parasitic draw.
Before leaving the van parked again, it’s worth checking what equipment stays connected, and using the master disconnect switch whenever the setup allows for it.
4. Check the solar panels and controller
Seeing a charging symbol on the screen isn’t enough. It’s worth confirming that the panels are actually producing power and that it’s reaching the battery.
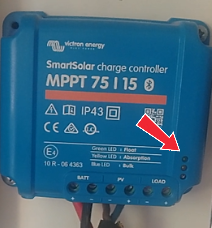
I’d check:
- Panel condition and cleanliness.
- Visible cables and the roof cable glands.
- Fuses on the solar circuit.
- Controller connectors and terminals.
- The configured battery profile.
- Voltage and, if you have a monitor, charging current.
If the controller shows no current, voltage isn’t rising, or the battery keeps draining during daylight hours, here’s what to check before you start swapping components.
The controller might show 13.8V or over 14V while charging. That figure doesn’t necessarily mean the battery is full — it’s the voltage being applied during the charging process.
5. Check terminals, connectors, and fuse holders
Vibration can loosen screws and terminals over time. In my own small electrical panel I’ve had to re-tighten connectors joining the positives of different circuits.
A loose connection can build up resistance and heat, but the same thing can happen when the conductor is undersized for the current running through it. If you notice hot cables or terminals, it’s worth checking what wire gauge to use in a 12V camper installation before just re-tightening the connections.
I’ve also had a controller terminal that ended up overheating and deteriorating. A loose connection increases resistance and can generate heat, even while the device keeps apparently working.
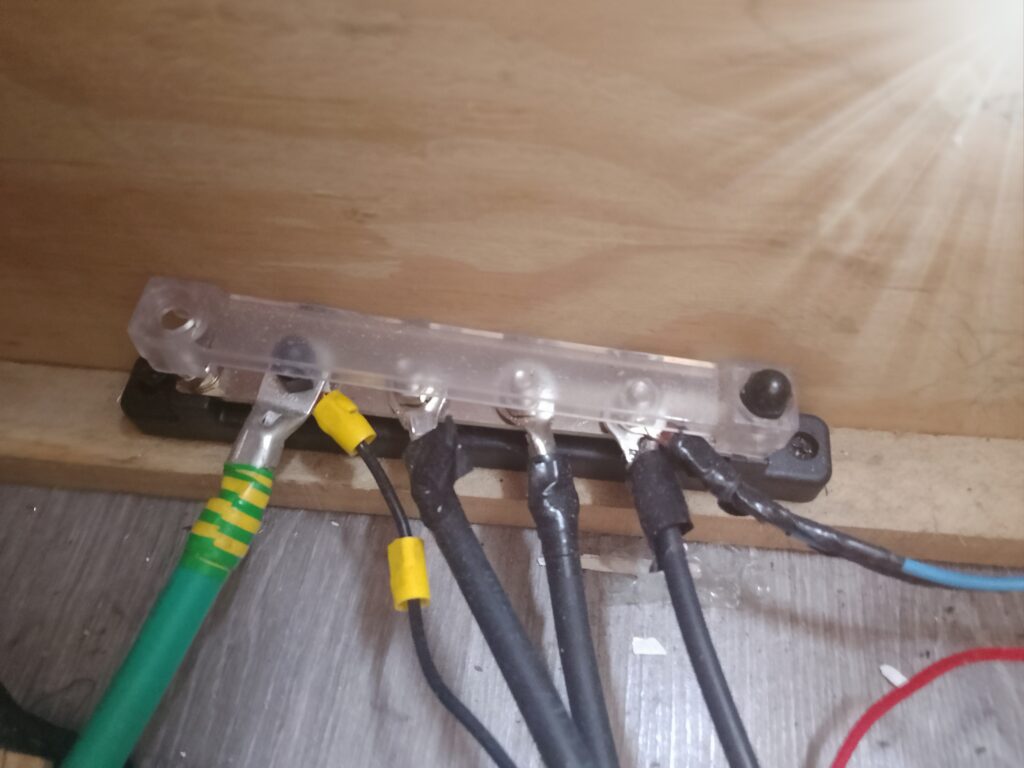
With charging sources disconnected and following the proper procedure for your installation, look for:
- Loose screws or terminals.
- Darkened or deformed plastic.
- A burning smell.
- Corrosion.
- Cables that move inside the terminal.
- Fuse holders that feel excessively hot.
Screws should be tightened properly, but not forced. If the manufacturer specifies a torque value, stick to it.
6. Test the inverter before you actually need it
I had a small 300W inverter that got progressively noisier until it eventually stopped converting 12V into 230V.
A fan can make some noise during normal operation, but a gradual change in noise, an odd smell, unexpected shutdowns, or excessive heat shouldn’t be ignored.
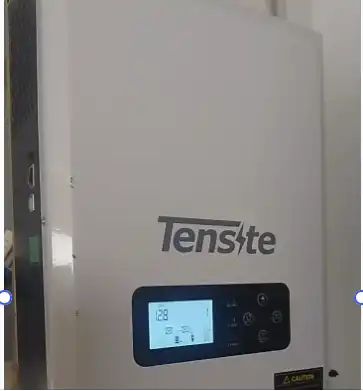
You can test it with a known, low-power device. If the inverter behaves strangely, it’s better to disconnect it and check it before the trip.
It’s also worth remembering that an inverter draws power even with nothing plugged into it, so it shouldn’t stay switched on if you don’t need 230V.
If the inverter needs replacing, don’t pick it based on peak power alone — it has to match the devices you’ll actually use and the capacity of your battery and wiring.
7. Check every charging source
Before setting off, it’s worth checking every available power source:
- Solar panels.
- The alternator, via a relay or DC-DC booster.
- External 230V shore power.
- A portable power station, if you carry one as backup.
There’s no single system that fits every camper van. Panels work while you’re parked, a booster makes use of driving time, and shore power lets you charge when there isn’t enough sun.
With the engine off, measure the auxiliary battery, then repeat the measurement after starting it. If you have a charging system running off the alternator, you should see a consistent change in voltage or current.
Shore power should also be tested before you arrive at a campsite. If the charger, the RCD, or any protection device has an issue, it’s better to find out close to home.
230V circuits and high-current installations need proper protection. If there’s any doubt, have them checked by a professional.
8. Bleed the air out of the water pump
After several months of not being used, my water pump ended up running with a fair amount of air trapped in the line.
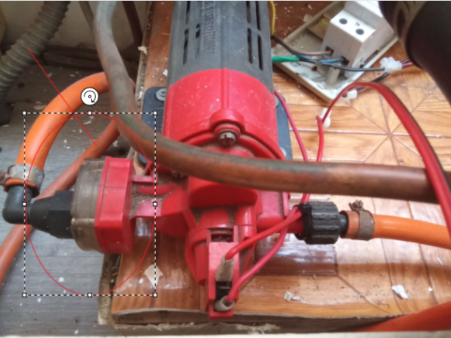
Before the trip, fill the clean water tank, open the taps, and let the system push the air out gradually. A pump shouldn’t be left running dry for too long.
If it won’t prime, check:
- Water level.
- Inlet filter.
- Kinked hoses.
- Joints where air could be getting in.
- Valves and connections.
- Possible leaks.
9. Check taps, hoses, and fittings
My sink also developed some damage and small leaks at the tap.
A slow leak can easily go unnoticed and end up soaking furniture, the floor, insulation, or electrical connections. To find one, you can pressurize the circuit and run absorbent paper along the joints, the base of the tap, and the hoses.
It’s also worth leaving the pump quiet for a few minutes. If it kicks back on without any tap being opened, there may be a pressure loss or a leak somewhere in the circuit.
10. Empty and clean the grey water tank
Through my own carelessness, I once left the motorhome parked for months with the grey water tank almost full.
Besides causing odours, leftover soap, food, and grime can stick to the walls, affect the valves, and make the tank harder to clean later on.
Before travelling, it’s worth:
- Emptying it at an authorized disposal point.
- Cleaning the tank.
- Checking the drain valve.
- Checking for leaks.
- Confirming the level indicator works correctly.
When storing the van, it’s best to leave the tank empty, clean, and ready to dry out.
11. Re-tighten doors, hinges, and cabinets
Vibration doesn’t only affect electrical terminals. It can also loosen the screws on hinges, latches, and furniture.
In my own van I had to re-adjust the screws on a central cabinet’s doors. A door that seems fine while parked can swing open over a pothole and drop everything inside it.
Before setting off I’d check:
- Hinges.
- Handles.
- Safety latches.
- Furniture screws.
- Drawers.
- Shelves.
- Heavy items that could shift.
12. Do a full test run close to home
The last check is to use the van as if you were already on the road.
Over a few hours, test:
- Lights.
- Pump and taps.
- Fridge.
- Inverter.
- Sockets.
- Solar charging.
- Charging from the alternator.
- Heating, if fitted.
- Tank level indicators.
- Doors and latches.
This lets you catch a battery that drops too fast, a pump losing pressure, or an inverter shutting itself off, before you’re far from home.
Quick checklist before you travel
- Check for damp and water entry points.
- Measure the resting battery voltage.
- Check for hidden loads.
- Check the panels and controller.
- Inspect terminals, connectors, and fuses.
- Test the inverter.
- Check every charging source.
- Bleed the water pump.
- Check taps and hoses for leaks.
- Empty and clean the grey water tank.
- Re-tighten cabinets, hinges, and latches.
- Test every system close to home.
Conclusion
After several months parked, a camper van shouldn’t just start up and head out without checking its main systems first.
Most of these checks don’t require pulling the whole installation apart. A visual inspection, a few measurements, and a full test run can catch loose connections, damp, leaks, or a flat battery before they turn into a breakdown during your trip.
In my case, a lot of these points come from problems I actually had myself. That’s exactly why I now prefer spending a few hours checking the van before every long trip.
Important: this checklist focuses mainly on the van’s systems and living area. Before driving, you should also check tires, brakes, fluid levels, exterior lights, and — where fitted — the gas installation and smoke/carbon monoxide detectors.
FAQ
What should I check in a camper van before a trip?
Check the auxiliary battery, the solar panels, terminals, fuses, the inverter, the water pump, taps, the grey water tank, and the condition of doors, cabinets, and latches. It’s also worth testing every system close to home before starting a long route.
What happens to the battery if the camper van has been parked for months?
Even if you’re not using the van, the battery can lose charge because of hidden loads, the inverter, the control unit, or the solar controller itself. Before travelling, measure it at rest, charge it fully, and confirm it’s holding voltage.
How far in advance should I check the van?
Ideally at least one or two days before the trip. That gives you time to charge the battery, bleed the pump, fix small leaks, or replace a fuse or component without rushing it all at the last minute.
Why does the water pump need testing after months of not being used?
Air can get into the line while it’s sitting, a seal can dry out, or a small leak can appear. If the pump runs but water doesn’t come out properly, you usually need to bleed the line and check taps, hoses, and connections.
Is it enough to check that things just turn on?
Not always. Some faults only show up after several minutes of running, or when several loads are on at once. That’s why it’s worth testing the inverter, fridge, pump, lights, and charging systems for a while before you leave.
Should I disconnect the battery if I’m leaving the van parked for months?
It depends on your setup and which devices need to stay active. It’s generally best to disconnect anything unnecessary, switch off the inverter, and check the state of charge periodically. If you have solar panels, an alarm, or other permanent systems, follow the manufacturer’s procedure before disconnecting the battery.
What tools are worth bringing to check a camper van before a trip?
A multimeter, screwdrivers, a torch, spare fuses, electrical tape, zip ties, and absorbent paper for tracking down small leaks are all useful. Any work on 230V circuits, gas, or high-current connections should be left to a professional if you don’t have the right knowledge.
Related reading (confirm final EN URLs before publishing):